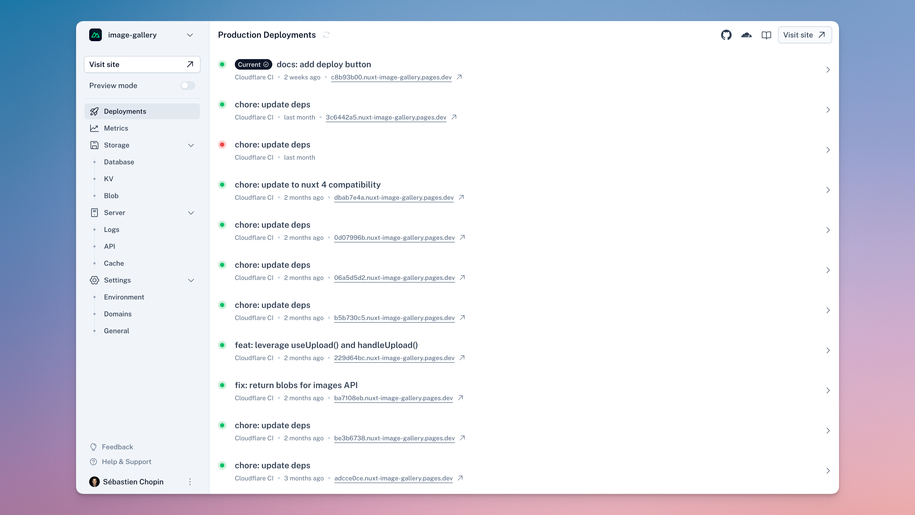
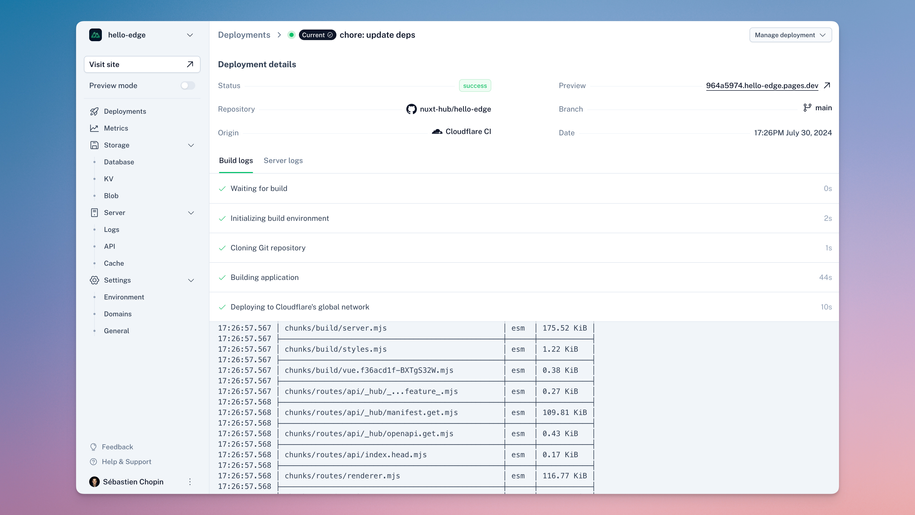
Deploy Nuxt on the Edge
The NuxtHub Admin is made to simplify your experience with NuxtHub, enabling you to effortlessly manage teams and projects, as well as deploying NuxtHub application with zero-configuration on your Cloudflare account.

NuxtHub CLI
Deploy your local project with a single command:
npx nuxthub deploy
The command will:
- Ensure you are logged in on admin.hub.nuxt.com
- Make sure you linked your Cloudflare account
- Link your local project with a NuxtHub project or help you create a new one
- Build your Nuxt project with the correct preset
- Deploy it to your Cloudflare account with all the necessary resources (D1, KV, R2, etc.)
- Provide you with a URL to access your project with a free
<my-app>.nuxt.devdomain
npm i -g nuxthub.GitHub Action
To deploy your project with a GitHub Action, you can use the following workflow:
name: Deploy with NuxtHub CLI
on: push
jobs:
  build-and-deploy:
    runs-on: ubuntu-latest
    steps:
      - name: Checkout
        uses: actions/checkout@v4
      - uses: pnpm/action-setup@v4
        name: Install pnpm
        with:
          run_install: false
      - name: Install Node.js
        uses: actions/setup-node@v4
        with:
          node-version: 20
          cache: 'pnpm'
      - name: Get pnpm store directory
        shell: bash
        run: |
          echo "STORE_PATH=$(pnpm store path --silent)" >> $GITHUB_ENV
      - uses: actions/cache@v4
        name: Setup pnpm cache
        with:
          path: ${{ env.STORE_PATH }}
          key: ${{ runner.os }}-pnpm-store-${{ hashFiles('**/pnpm-lock.yaml') }}
          restore-keys: |
            ${{ runner.os }}-pnpm-store-
      - name: Install dependencies
        run: pnpm install

      - name:  Deploy with nuxthub
        run: npx nuxthub deploy
        env:
          NUXT_HUB_PROJECT_KEY: ${{ secrets.NUXT_HUB_PROJECT_KEY}}
          NUXT_HUB_USER_TOKEN: ${{ secrets.NUXT_HUB_USER_TOKEN }}
You need to add the following secrets to your GitHub repository:
NUXT_HUB_PROJECT_KEY: Your project key (available in your project settings in the NuxtHub Admin or in your.envfile if you rannuxthub link)NUXT_HUB_USER_TOKEN: Your user token available in User settings → Tokens in the NuxtHub Admin
Cloudflare Pages CI
It is possible to use Cloudflare Pages CI to deploy your project by connecting your GitHub or GitLab account. Once your repository is connected, each commit will trigger a new deployment.
- Open the NuxtHub Admin
- Click on
New ProjectthenImport a GitHub repository - Select your Github repository
- Click on
Import repository
Self-hosted
You can deploy your project on your own Cloudflare account without using the NuxtHub Admin.
For that, you need to create the necessary resources in your Cloudflare account and configure your project to use them:
- One D1 database
- Two KV namespaces (one for
hubKV()and one for server caching) - One R2 bucket
Then, create a Cloudflare Pages project and link your GitHub or Gitlab repository and choose the Nuxt Framework preset in the build settings.
Once your project is created, open the Settings -> Functions tab and set:
- KV namespace bindings
- Set the variable name as
KVand select your KV namespace created - Set the variable name as
CACHEand select your KV namespace for caching created
- Set the variable name as
- R2 bucket bindings
- Set the variable name as
BLOBand select your R2 bucket created
- Set the variable name as
- D1 database bindings
- Set the variable name as
DBand select your D1 database created
- Set the variable name as
- AI bindings
- Set the variable name as
AI
- Set the variable name as
- Browser bindings
- Set the variable name as
BROWSER
- Set the variable name as
- Compatibility flags
- Add the
nodejs_compatandnodejs_alsflags
- Add the
Go back to the Deployment tab and retry the last deployment by clicking on ... then Retry deployment.
npx nuxt dev --remote after configuring the remote storage